Configure VPN Connection on macOS (OpenVPN)
Requirement!
To set up the VPN, you need a second factor (abbreviation: 2FA or MFA). This is an additional security layer in addition to your HTW account password. You can set up the second factor within the account service using the following guide:
Multi-Factor Authentication
It is strongly recommended not to run any additional VPN clients in parallel!
Step 1: Download OpenVPN and the configuration file
Download the OpenVPN client and the certificate from our download portal (you need to log in with your HTW account). Then return to this guide.
To download the OpenVPN client and the VPN profile
Step 2: Install the VPN client
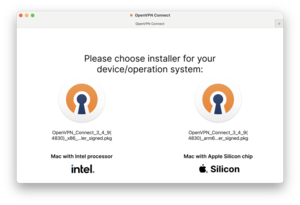
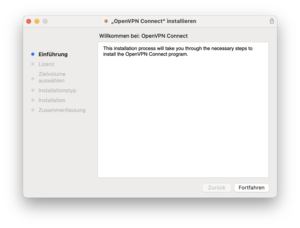
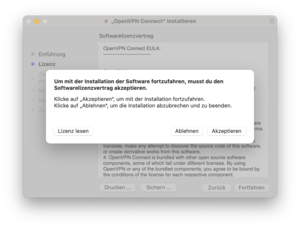
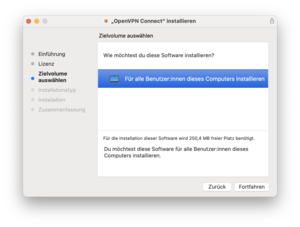
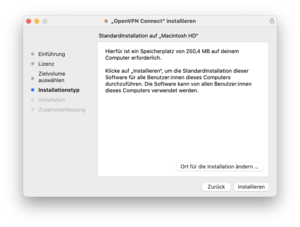
Start the setup (open the file openvpn-connect-<version>_signed.dmg) that you downloaded in Step 1.
You will then be prompted to select whether your Mac device has an Intel CPU or an Apple CPU/Chip. Choose the appropriate option.
If you need help deciding, you can find information about your CPU on this Apple page.
NO openVPN possible in eduroam or the HTW network!
In the entire HTW Berlin network (including the eduroam WLAN), an OpenVPN connection cannot be established (a timeout is displayed in the OpenVPN client).
Its use is mainly intended for outside the university.
in case of a slow or unstable OpenVPN connection/websites cannot be accessed
User experience has shown that you may experience speed or stability problems with OpenVPN if your Internet connection does not have a public IPv4 address but uses Dual-Stack Lite instead, which means multiple customers share a single IPv4 address.
If you notice that your OpenVPN connection is very slow or unstable, please try using a different Internet connection (e.g. the mobile hotspot of your smartphone via the mobile network). If the problem does not exist there, you might contact your Internet provider and ask them to provide you with your own IPv4 address for your Internet connection. A dynamic IPv4 address is sufficient for this; a fixed IP address (often offered for a fee) is not required.
Uninstallation of old VPN clients
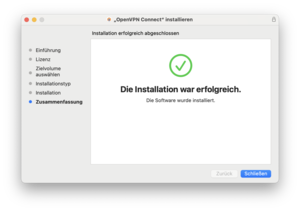
After completing the installation, we recommend uninstalling any old installations of the Cisco AnyConnect program (if you used our old VPN client).
