Configure VPN connection under Windows
It is strongly recommended not to run any other VPN clients at the same time!
Step 1: Download Cisco AnyConnect Client
Please download the Cisco AnyConnect client from our download portal (login required) and then return to these instructions: Cisco AnyConnect Download
Step 2: Installation of the VPN client
Please install the setup you downloaded in step 1.

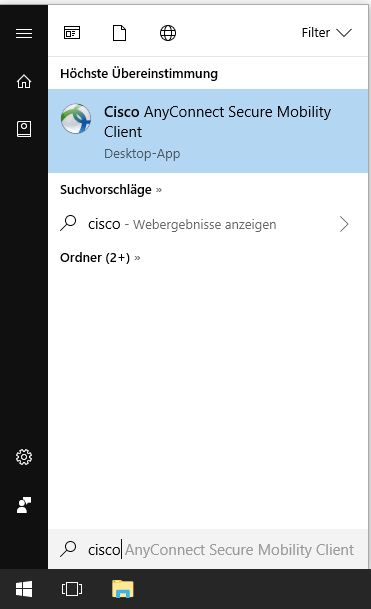
Step 3: Launch application
Launch the "Cisco AnyConnect Secure Mobility" client via the Windows start menu.
Step 4: Establish connection
Enter the server adress vpncl.htw-berlin.de into the input field of the connection window and then click "Connect".

Step 5: Enter login information
Please enter now your HTW-Account-Data. Please do not forget to add the extension "@htw-berlin.de" to your user name (e.g. s0000001@htw-berlin.de). Confirm the entry with "OK".
Two connection profiles (Group) are available for using the VPN service:
HTW-SSL-Split (Standard)
Only requests that are directed to the HTW network (e.g. services of your department) are routed through the VPN tunnel. Inquiries to external providers (e.g. the call of wikipedia.org) are still made via the home internet provider.
HTW-SSL-VPN-Full
All Internet traffic is routed through the HTW's VPN server. This means that you use an IP address of the HTW (141.45.*.*) during the entire connection process. This is required for all those services of external providers that are made available by the HTW (e.g. external website services of the library, e-books).

When do I need the profile "HTW-SSL-VPNCL-Full"?
Please use the "HTW-SSL-VPNCL-Full" profile if you want to access external databases of the library (eBooks), SAP software or other external services made available by the HTW.
Step 6: Connection established
The Cisco AnyConnect client will confirm when the connection has been successfully established.

FAQ: Possible errors and their solution
1. The establishment of the VPN connection aborts with the error message "AnyConnect was not able to establish a connection to the specified secure gateway. Please try connecting again."
Possible cause: One or more of the computer's network interfaces (Wi-Fi/LAN) had "Internet Connection Sharing" activated after installing the VPN client.
Solution: Turn off Internet connection sharing. Proceed as follows:
Go to Windows Control Panel → Start "Network and Sharing Center" → Select the currently used network adapter (if necessary, perform for both network adapters; LAN and Wi-Fi) → "Properties" (right click) → Select "Sharing" tab → Remove check mark at "Allow other users in the network to use this connection of the computer as Internet connection" → Confirm → with "OK
2. You cannot access internal services (such as the Wiki) despite a VPN connection
Possible cause: Your system uses a proxy server.
Solution: Open the proxy settings (on Windows 10, just search for this keyword) and disable the proxy server settings - this includes the option "Detect settings automatically". This setting should also be disabled. Remember the settings if necessary.